An enhanced Hawks Cay debuts early 2025 - Elevated cuisine, immersive experiences, and refined spaces. Learn More
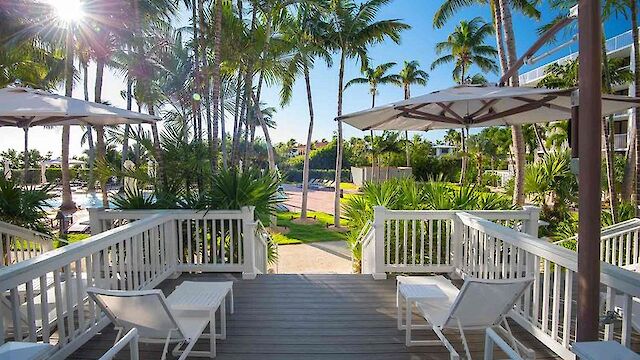
Resort Rooms & Suites
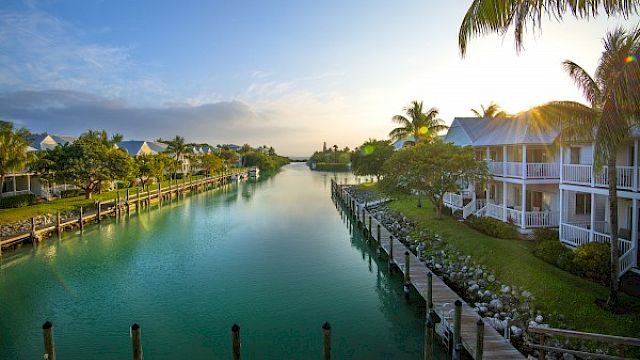
Tropical Villas
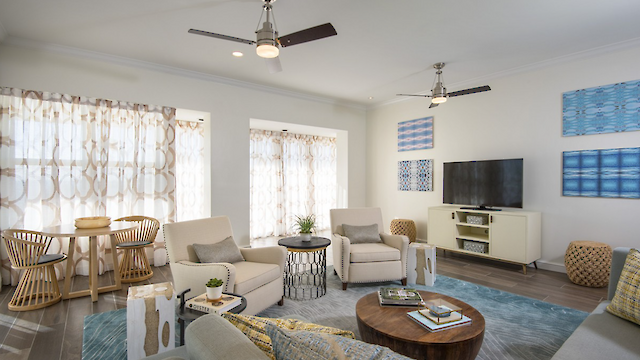
Penthouse Suites
Make a Splash
Chart your Course
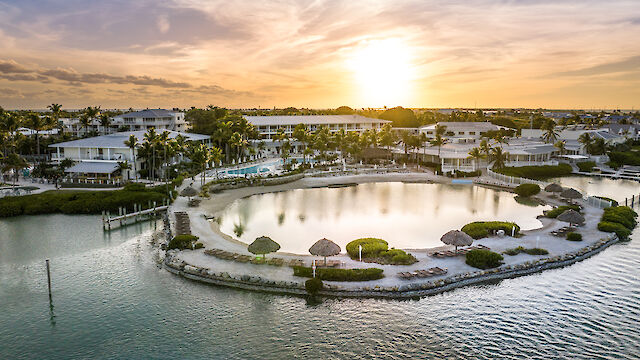
Uncover Island Bliss
Season of Discovery
Florida & Georgia Residents
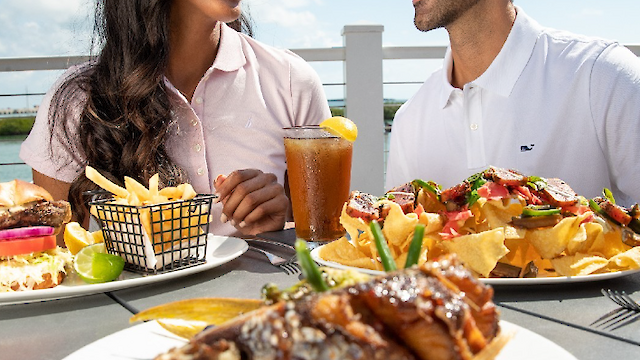
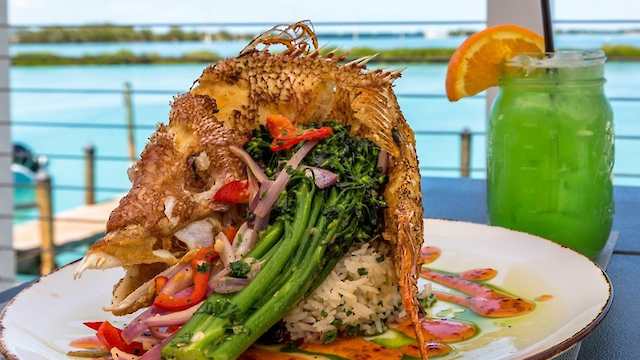
The Hook & Cook Experience
Weekend Brunch Specials
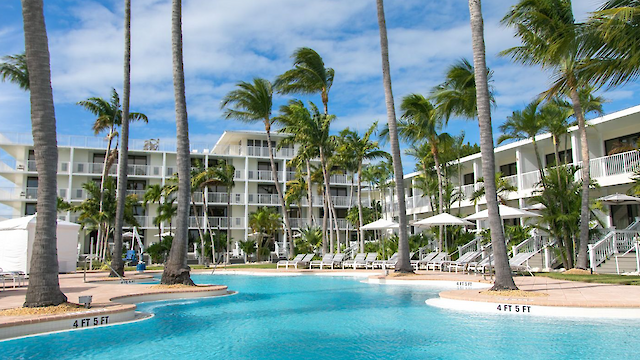
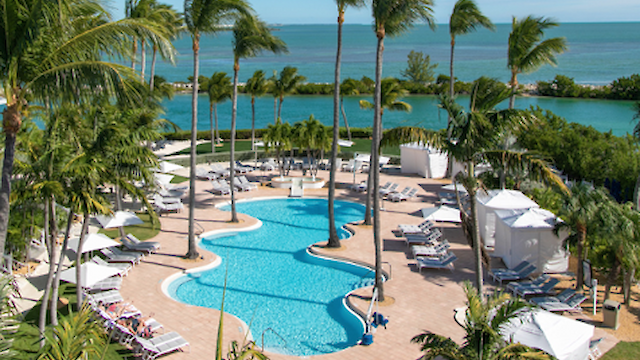
Poolside Paradise
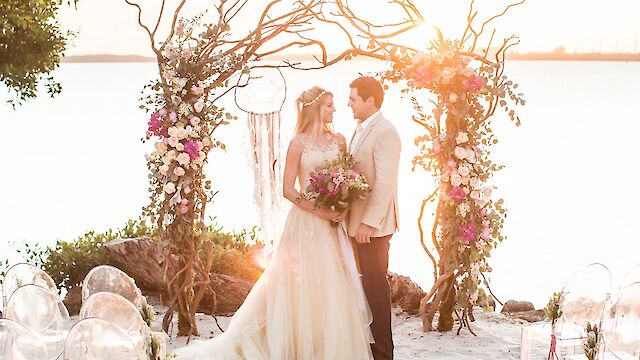
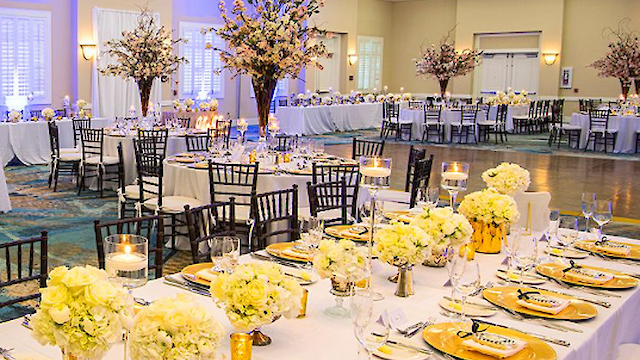
Wedding Venues
Wedding Packages
Experiential Ceremonies
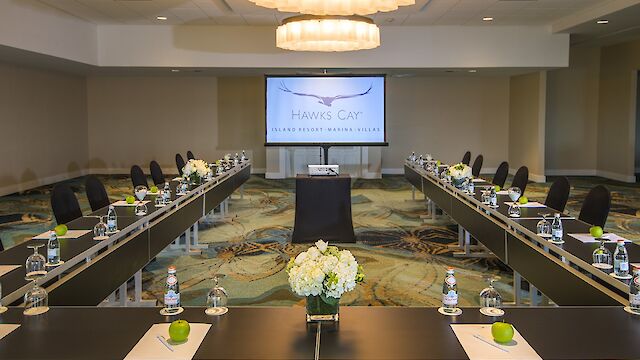
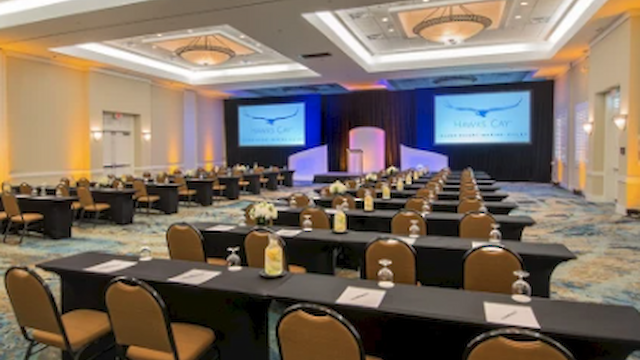
Venue Space
Meeting Packages
Start Planning
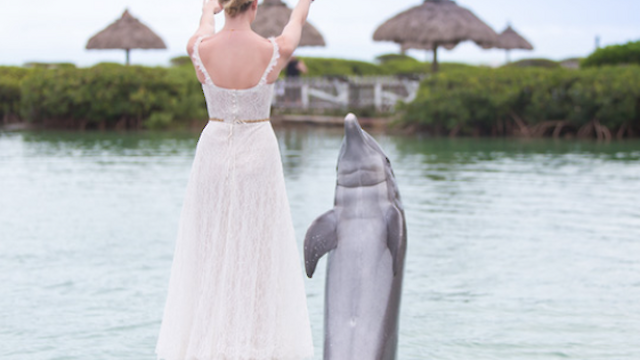
Experiences
Events Calendar