Resort Rooms & Suites
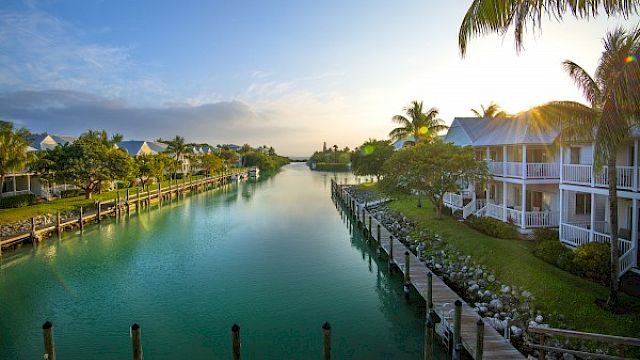
The Florida Keys are truly a special place, where ocean views and island vibes are complemented by a tight-knit community of locals who are passionate about their home. From famous Key Lime pie flavors to signature snacks, guests can savor a taste of the Keys right here at Hawks Cay with our curated local selection at Marketplace.
Hungry guests can head to the freezer section to find Marketplace’s top seller: ice cream cookie sandwiches fromKeys Chocolate and Ice Cream. With two locations in the Keys, this award-winning, family-owned shop is a haven for all things sweet. Their decadent ice cream cookie sandwiches are made fresh in Key Largo with premium ingredients. Marketplace also stocks the shop’s chocolate-covered potato chips, Key Lime cookies and cookie stacks, chocolate-covered pie on a stick, truffles, and Gator Crunch trail mix.
One can never get enough Key Lime pie, and the Keys’ very own Key Lime Pie Lady is the source for one of the best pies in the region. Marketplace offers whole Key Lime pies and tarts, perfect for sharing with the whole family during a stay at Hawks Cay. And those endless days by the water aren’t complete without a cold one – beer enthusiasts can try offerings from Islamorada Brewery & Distillery. Marketplace stocks the brand’s top brews, including Sandbar Sunday, No Wake Zone, Go Fish, and more.
Marketplace is always adding exciting local goodies. For more information on the latest at Marketplace, visit Here